
Use the Snowflake Method template by starting with a one-sentence summary and expanding it in ten steps, adding character detail and plot until you have a scene list. Check each step before growing the next layer. This guide takes a first-time novelist from blank page to scene list, at beginner level.
What you’ll need
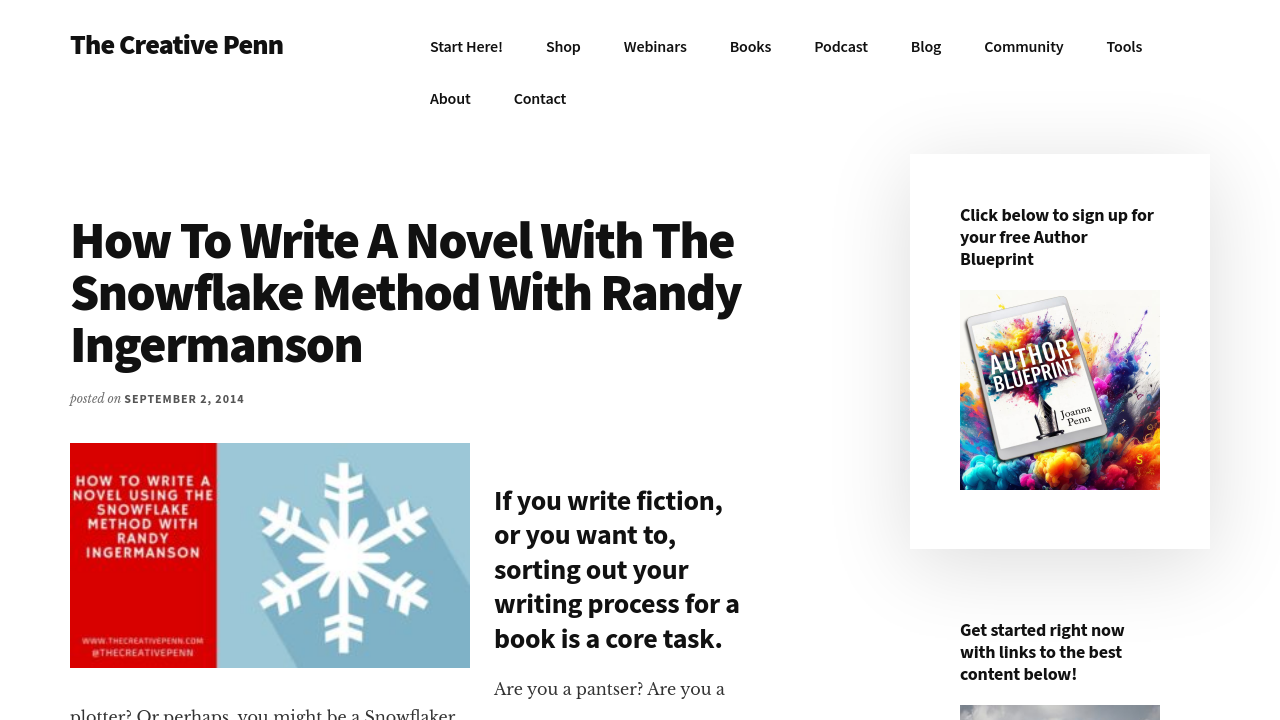
The method comes from Randy Ingermanson, a physicist and novelist who describes it as growing a story from something small into something complex, as he explains in a Creative Penn interview. You need very little to try it.
- Pen and paper, or a blank document. Nothing fancier is required.
- The ten-step list. Copy the step headings below onto ten sheets or ten document headings.
- A free starting kit, if you want one. The free First-Novel Finisher’s Kit contains a one-page plan, a chapter-planning grid, a seven-plots cheat sheet and a series of emails, and it needs only pen and paper. It works as a free alternative to a downloadable template.
- A character planning view for step 3. The app’s character planning view gives each character a separate internal starting position and external goal, which is the split step 3 asks for.
- Beginner skills. You only need a story idea you care about.
If the seven-plots cheat sheet sparks questions, read the seven basic plots explained before you start.
Next step: label your ten pages tonight.
Before you start
Make two decisions before step 1, because they are painful to change later. First, pick your genre. Second, pick your viewpoint character. Everything in the template grows from those two choices.
Keep every version of every layer. Number your pages (Summary v1, v2) rather than overwriting them. Early layers will change once later ones expose a weak spot, and that is the point. The method sits between planning and pantsing, so if you are unsure which camp you fall into, plotter vs pantser is a useful read. If you want a broader frame first, a story structure template pairs well with Snowflake.
One more thing: an app can hold your plan, but it cannot teach you craft or write your sentences. You do that part.
Next step: write your genre and viewpoint character at the top of page one.
Step-by-step: filling in the Snowflake template
Step 1: Write a one-sentence summary
Write one sentence that says what your book is about. Use the hero’s role or goal rather than a name, and link the inner problem to the outer one. Writing Mastery suggests keeping it to about 15 words.
Check: it fits on one line and a friend could repeat it back.
Step 2: Expand it to a one-paragraph summary
Grow the sentence into five sentences: setup, three disasters, then the ending. If you know three-act structure, the disasters map onto the catalyst, the midpoint and the low point before the finale.
Check: each of the five sentences names one event, and the last one resolves the problem from step 1.
Step 3: Build a profile for each main character
For each main character, write a name, a one-line storyline, what they want and what they must learn. Keep the internal starting position (who they are at page one) separate from the external goal (what they chase). The ClearARC character planning view holds those two fields side by side, but a two-column sheet of paper does the same job.
Check: every main character has both columns filled, and the two columns are different.
Step 4: Grow the paragraph into a one-page summary
Turn each sentence of your step 2 paragraph into its own paragraph. Fill in cause and effect between disasters.
Check: it fits on one page, and every paragraph ends in a consequence that drives the next.
Step 5: Write a character synopsis for each major character
Tell the story from each major character’s point of view in about a page. Villains included.
Check: each synopsis reads as that character’s own story, not a copy of the hero’s.
Step 6: Expand to a four-page synopsis
Grow each paragraph of the one-page summary into about a page. This is where the plot thickens and holes show up.
Check: you can trace the hero from opening to climax without a gap you have to explain aloud.
Step 7: Build a full character chart
Add backstory, habits, relationships and how each person changes. Writing Mastery notes that the method ends with full character charts alongside the scene list.
Check: for each major character you can say what they want, fear and lose.
Step 8: List every scene
Go through the four-page synopsis and pull out each scene, one line each: who, where, what goes wrong. Ingermanson treats the scene, not the chapter, as the working unit. To see what a finished outline looks like, compare yours against a sample.
Check: every event in the synopsis appears in at least one scene line.
Step 9 and 10: Plan scenes and begin drafting
For each scene, jot a short note on its goal, conflict and outcome. Then start drafting scene one. Group scenes into chapters with a chapter planning template if that helps.
Check: you have written the first scene, not just planned it.
Next step: finish step 1 today, even if the sentence is clumsy.
Troubleshooting

Summary too vague
- Symptom: your sentence could describe a dozen novels.
- Cause: no specific goal or stakes.
- Fix: name the hero’s role, the thing they want and what happens if they fail.
Characters feel flat
- Symptom: everyone sounds alike in step 5.
- Cause: internal start and external goal are the same thing.
- Fix: give each character a belief at page one that the plot will test.
The paragraph sprawls
- Symptom: step 2 runs to eight sentences.
- Cause: subplots crept in early.
- Fix: cut back to the three disasters and park the rest for subplots that complement the main plot.
Scene list stalls
- Symptom: step 8 stops halfway.
- Cause: the four-page synopsis skips a stretch.
- Fix: return to step 6, fill the gap, then resume. If you are stuck for longer, try these ideas for writer’s block on a first novel.
The plan feels rigid
- Symptom: drafting feels like filling in forms.
- Cause: treating the plan as fixed.
- Fix: change the plan when the draft finds something better, then update the earlier layer.
Next step: pick the symptom that matches you and apply its fix tonight.
FAQ: Frequently Asked Questions
What is the Snowflake Method?
It is a planning method that grows a novel from a single summary sentence into a full outline. Each layer adds detail to plot and characters until you finish with character charts and a scene list.
Who created the Snowflake Method?
Randy Ingermanson, a physicist and novelist, created it. He also wrote a book on it, How to Write a Novel Using the Snowflake Method, which presents the method as a story about a frustrated writer.
How many steps does the Snowflake Method have?
It has ten steps. They run from a one-sentence summary through paragraph and page summaries, character work and a four-page synopsis, to a scene list, scene notes and finally the first draft.
Is the Snowflake Method good for first-time novelists?
Yes, for many. It breaks a daunting project into small, checkable pieces. It suits writers with plenty of ideas and no finished book, provided you let early layers change as later ones reveal problems.
Can I use a spreadsheet or Scrivener for the template?
Yes. Spreadsheet versions of the template exist, and Joanna Penn at The Creative Penn has described setting up a Scrivener template for it. Choose whichever tool you will actually open every day.
How is it different from three-act structure?
Three-act structure describes the shape of a story; Snowflake is a process for building the plan. They combine well, as your five-sentence paragraph can follow a three-act structure template.
Do I need software to use it?
No. Pen and paper work fine. The free First-Novel Finisher’s Kit from the same team needs only pen and paper, and gives you a one-page plan and chapter-planning grid to start from.
Does ClearARC write the story for me?
No. ClearARC is a no AI writing tool, not a writing teacher. It holds your plan, but it does not write the sentences, so every sentence in the draft is yours to write.
Conclusion
Start small and grow in layers. One sentence, then five, then a page, then the people, then the scenes. Check each layer before you build the next, and go back when something wobbles. Once the scene list exists, the job is drafting. If you want one place to plan, plot, write and publish your first novel without AI, ClearARC is a single app made by Quentin Pain for first-time novelists. For a broader overview, see how to plot a novel.
Next step: write your one-sentence summary before you close this page.